
 Cloud 8 graphic design print Columbus OH – Look great, save money.

Low Cost Graphic Design – Postcards, Brochures, Business Cards, Flyers, Vinyl Banners, Door Hangers, Letterhead. Call For Free Quote Or Click The Red Button To The Right.
 Graphic design- print and graphic web services.
Call (614) 273-0845, click the Get A Quote button or text us for a free quote to design your brochure, flyer, postcard, business card or any graphic design project.
So which do you prefer Columbus’ cheapest online print prices or great quality graphic design? How about both!!! And we are family owned and local too. You will usually receive a proof for your review within 12-24 hours. Serving Dublin, Westerville, Hilliard, Powell and your Columbus home town for over 15 years.
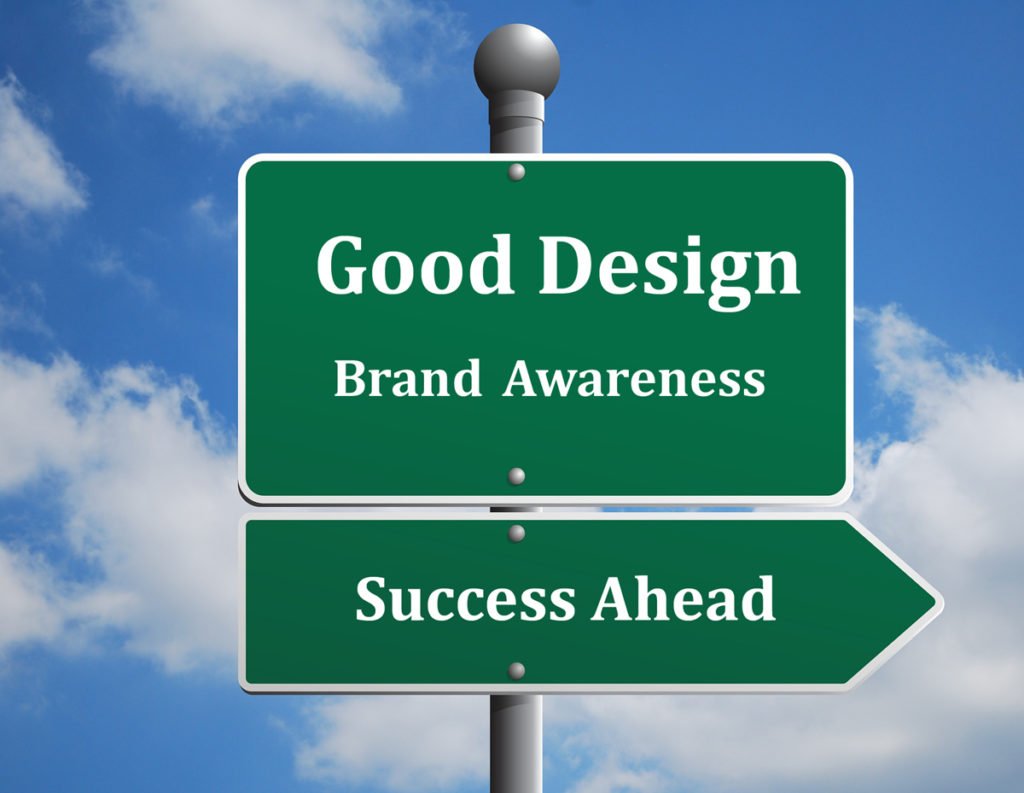
Why Choose Cloud 8 For Your Graphic Design?
CONVENIENCE: Use Cloud 8 Design as much or as little as you need. We’re here whenever you need graphic art design for print or the web. And we’re local so we can come to your office be it in Dublin, Hilliard, Worthington, Gahanna, Westerville, or anywhere in the Greater Columbus, OH area.
TOP QUALITY PRINT DESIGN: Professional graphic design services so your business always looks good.
FAST: We deliver fast turnaround on print design and web design.
VALUE: We offer affordable design prices on single projects and discount graphic design packages when you put us to work for multiple projects at once. With Cloud 8 Design even small businesses can look like the big boys.
SUPPORT: Cloud 8 Design is here for you. Let us know what we can do to meet all your print and web design needs.

Six Printing Rules To A Professional Graphic Design Look
#1 Don’t compromise your artwork by using an amateur’s program like Microsoft Word or Publisher.
#2 Don’t try to save money by having your brother-in-law do your artwork for you unless he is very proficient.
#3 Don’t use low resolution photos like web photos on printed pieces. They will make your flyer look “schlocky”. Low resolution works fine on websites, but it looks grainy on printed pieces. There is no excuse for compromising your print design with bad photos because even smart phones take quality, high resolution photos. 300 DPI is the goal.
#4 Don’t print your brochures on a home printer or copy machine.
#5 Don’t print on cheap paper. Print brochures on quality paper like 100# Text paper or 14 Point for Postcards; it’s not much more expensive. And it makes a world of difference.
#6 Don’t forget to proof or reread your brochure at least three times. It should also be looked at by at least two people. (Saddest typo we’ve seen was when a man meaning to say he had run a business for five years instead wrote that he had been “ruining a business” for five years).
Checklist of Reasons Print Shops Will Reject Your Print Design.
Why Do Pixels Matter?
Think of making a photo copy on a copy machine. Why do some come out perfect, some come out fuzzy, some come out dark, some light and some just look like mud?
Or think of cooking? Every TV chef tells you the same thing “You have to begin with good ingredients.”
Printing is the same way. Your original photo or image needs to be good. And it need to be even better if plan to enlarge it for a poster or sign.
So how do you know if your photo is good? And how do know if your photo may be enlarged and maintain good quality?
It begins with supplying a digital image with sufficient pixel dimensions. The standard requirements go by pixels per inch, usually 300 ppi. And that means 300 ppi at the dimensions of the printed image you are requesting.
For example, using the 300 ppi criteria, if the image is to be printed is 4 inches in size, then your digital image has to be a minimum of 1,200 pixels in that dimension – doing the math for our example 300 ppi x 4 inches = 1200 pixels.
Check Your Image In Photoshop. Is Image 300 DPI?
You can check this number by opening your image in photoshop and clicking on image size and setting it to 300dpi (dots per inch). If it is set to 150 dpi at 6″ x 12″ just do the math and you will find that at 300 dpi that same 6″ x 12″ art can only print at 3″ x 6″ at the largest.
If you are creating your print ad in Microsoft Word, Excel, PowerPoint, Publisher stop reading this post. It won’t help you. Those programs are not meant for professional printing. Ask a designer to re-create your print project.
How do you make a 300dpi file from any file using Photoshop?
Open your file. Under Image/Image Size open the image size control dialog. Scale and proportions should be checked. Uncheck resample. Change resolution to “300”. Your image is unchanged in its pixel size but is now 300 dpi. Click save to save the setting as a new named file.
Resampling Your Image
To upsize or downsize the file click “Save As” and give the file a new name. Then check the Resample box. Select the process under that (Bicubic Smooth for Enlarging, Bicubic Smoother for Reduction) and change your pixel dimensions or document sizes. Everything else should stay in proportion. Then resave your file as a 300 dpi file.
A ballpark way to check on your computer screen is to view your image at 100%. Is the image fuzzy? It should actually look pretty good at 200%. You can get by with 225-275 dpi, but you have to be prepared to lower your expectations a bit on what it will look like.
Enlarging by more than 20% Could Lead To Great Quality Loss
And again, things change completely if you want the image greatly enlarged. Again, think of when you have done this on the copy machine at work. The enlarged photo gets grainy. Don’t use gif photos. And know that changing a photo to a different file format is usually not the answer. As for resizing, it is usually best to let your designer or printer be the one to resize it because you could make it worse. Always shoot to take photos at high dpi settings it is always better to bring them down then bump them up.
Bumping up the image dpi will not improve the quality and you will usually find that if you start with a small image and enlarge it significantly it will usually deteriorate the image; either making it blurry or fuzzy or pixilated. Still in many cases you can enlarge an image by up to 30% without a serious downgrade in quality, depending upon the quality of the original.
High Quality Printing Begins With Your High Resolution Images
Vector art is often created using Adobe Illustrator or Corel Draw. A Vector image is a graphical file format that is scalable and doesn’t lose quality in print design when being enlarged. A vector image is composed of a series of “Points” with lines that join these points and don’t use pixels. Usually an Eps or Adobe’s proprietary Adobe Illustrator (Ai) vector image format are used as vectors.
The difference between vector and raster graphics is that raster graphics (Jpegs, Tiffs, Photoshop files most digital files or files using photography) are composed of pixels, while vector graphics are composed of paths.
Where it gets tricky is if an image is low resolution say 72 dpi jpg and some converts it to 300 dpi Tiff. This usually will not work well. Again, you need to begin with a quality original.
It is better if your original is a Tiff file than a Jpeg. Jpeg’s lose quality more than Tiffs in compression. Jpeg’s are great for web images, but not as good for print jobs. But if high quality they will usually work for print.
Are you still confused about which graphics format between JPEG, TIFF, PSD, BMP, and PNG?
Here are some general guidelines:
If the images are for the Web Jpeg, Png, or Gif are fine.
If the images are for printed material, use Tiff, Pdf and sometimes Jpeg (if original is of good quality as stated before. You also might be able to use PNG. PNG files are usually smaller than TIFF images and usually reserved for web use. Do not send Gif files for print.
If you want to share an editable file, choose your software’s native file format. such as .PSD for Photoshop. But don’t flatten or combine the layers.
Graphic Design That Makes Uncommon Sense
In other words, don’t rush the process at the last minute and for God’s sake don’t skimp. This is your business, your lively hood. Skimping isn’t saving. Being efficient is saving. Look for affordable graphic design, but demand it be done at a professional level. Shop around for good pricing on quality printing and affordable professional graphic design. Or better yet, find yourself a company who will offer you a good deal on a package of professional design and top quality printing on prime paper stock.
I’m not telling you anything you probably don’t already know. But some of life’s most important lessons need restating now and again. In tough economic times people ignore the common sense lessons it took them a lifetime to acquire. If your business deals with the public you probably complain about the same thing when your clients try to cut corners to save a few bucks.
Affordable Brochure Printing VS Cheap Brochure Printing.
Always insist on premium paper and quality printing
Understand the difference between affordable brochure printing and cheap brochure printing. Affordable brochure printing means that the final product is a brochure you are proud of to represent your company, product or service.
For more information on affordable business printing and graphic design; please call Cloud 8 Printing at (614) 273-0845. Friend us on Facebook us at the bottom of this page for great discounts on printing and design.
Cloud 8 Design Columbus, OH provides: Postcard Design, Brochure Design, Banner Design, Web Site Design, Business Card Design,Flyer Design. Yes, pretty much any kind of graphic design.
Please Contact Us For Design Help or Quotes. Click Get A Quote or call 614-273-0845.
10 Tips For Getting Sharper Photos and Images
Here is a great link from Canon’s website for tips on getting sharper photos and images